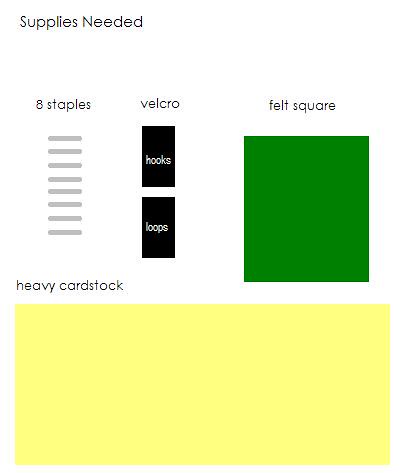
To start with, all you need are a few items: staples, velcro (two pieces - one with the hooks, one with the loops), a piece of felt, and a piece of heavy cardstock (I used a hang-tag from something that I bought) approx. 5 inches long and 2.5 inches wide.

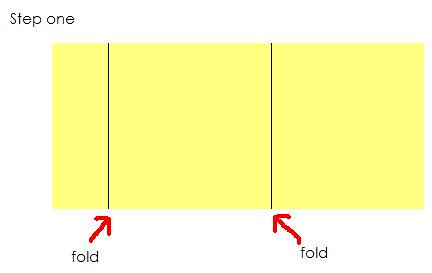
To start, fold the card stock into 3 sections using 2 folds. The first section will be a fold-over "tab" that will seal the needle book closed. The second fold will define the "folder" of the needlebook, where your needles will be kept.

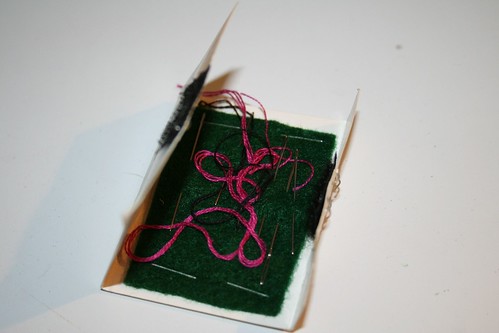
Then, attach the felt and velcro. I used staples to hold mine in place, but if you use self-adhesive velcro you won't need the staples. On the small "tab" on the first fold (shown on the left), use the piece of velcro with the hooks and attach with staples. Then, flip your paper over and attach the velcro (with the loops) on the outside of your folder. On the third section of the inside "folder" attach the felt with staples.

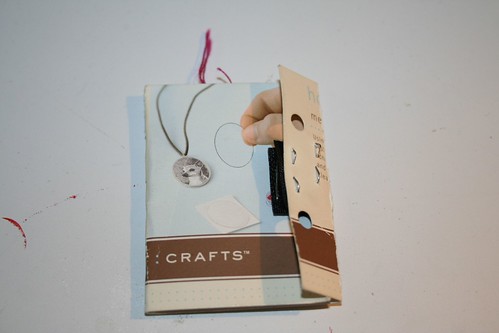
That's all! Now you're done! Add some needles to the felt piece and you're ready to go! Below are photos of my own needle book, which is surprisingly robust and has traveled more than 8,000 miles with me and never broke a sweat!
Please note that in my photos, the fold-over tab is shown on the right side instead of the left, which is essentially "upside down" from the instructions above.


1 comment:
You're such a smarty!! :D I love how it's tiny and adorable like you. :)
Post a Comment