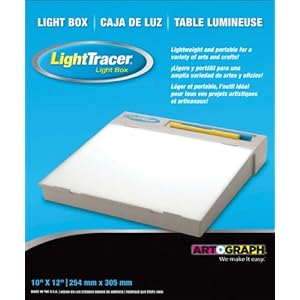
Ryan had an old home made version that his father made that was crafted from leftover particle board that worked great, but weighed a ton, so we decided that we'd invest in a light weight/easy to store light box. Lucky for us, the prices are Amazon are really fair! This one, for example, is a 10x12" light box for only $26.54.

Even if the price sounds a bit steep, think of it long-term. We've had ours about 4 years and Ryan uses it a LOT (ours is actually one of the slightly larger model, since he works on 11x17" paper) and we've never had to replace the lightbulb. And I use it nearly every time I transfer a pattern for embroidery, so in that sense, we've gotten our money's worth for sure.
But if you'd prefer to do it yourself, you can make one for just a few dollars and probably using stuff you already have around the house. This tutorial shows how simple it really is, although I'd substitute plexiglas for actual glass if you can (glass is heavy! And more prone to scratches). In a pinch, you could even prop glass across something elevated, like a stack of books with a desk lamp pointed directly underneath with a piece of glass (an empty picture frame?) laid across the books. Or, the old standard: the window when the sun is bright outside.
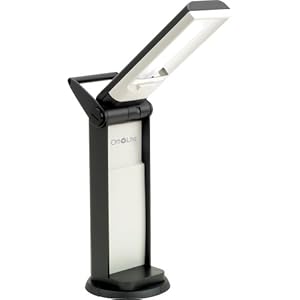
My other lighting must-have is an Ott light. If you're not familiar, an Ott bulb gives "true" light - like sunlight - so your colors are more exact and it's a GODSEND for saving your eyes. I have this small model that frequently is on sale at Joann's or Michael's for around $30-$40. It's a desktop lamp, that allows you to adjust the light fixture up and down and gives off a powerful, bright light (that doesn't strain your eyes - which is weird for such a bright bulb). I set mine on a TV tray and aim it toward myself when stitching on the couch (it's especially great on the desk when I'm painting).

Hope these tricks and tips help you too!
